

Brian McDermott’s side looked to be cruising after taking a 16-0 first-half lead, however a Panthers resurgence after the break forced Featherstone to dig deep in what proved to be an enthralling contest.
1. Rivals
Action from Halifax Panthers' clash with Featherstone Rovers in the Betfred Challenge Cup fourth round. Picture: Simon Hall. Photo: Simon Hall
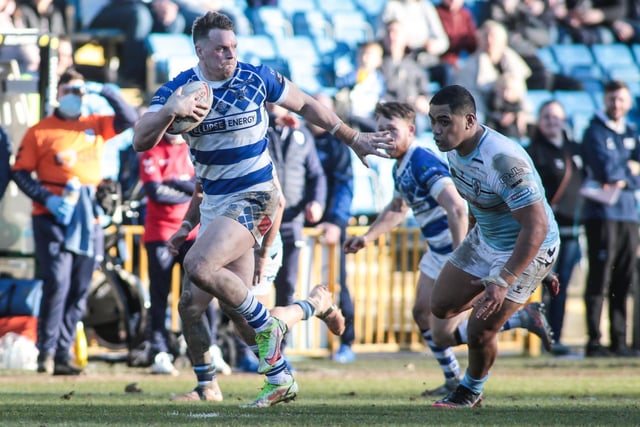
2. Foot Race
Action from Halifax Panthers' clash with Featherstone Rovers in the Betfred Challenge Cup fourth round. Picture: Simon Hall. Photo: Simon Hall

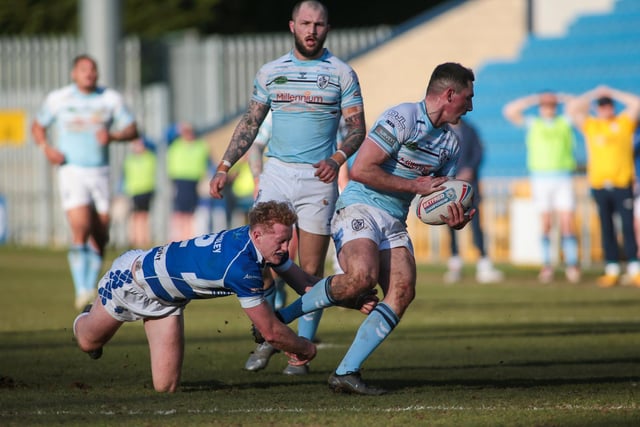
3. Wrapped Up
Action from Halifax Panthers' clash with Featherstone Rovers in the Betfred Challenge Cup fourth round. Picture: Simon Hall. Photo: Simon Hall
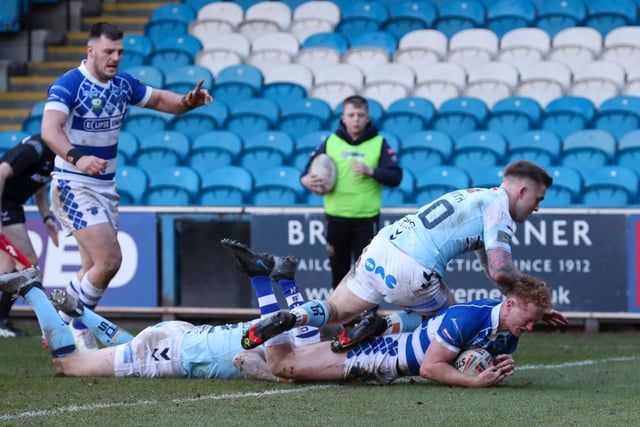
4. Touchdown
Action from Halifax Panthers' clash with Featherstone Rovers in the Betfred Challenge Cup fourth round. Picture: Simon Hall. Photo: Simon Hall